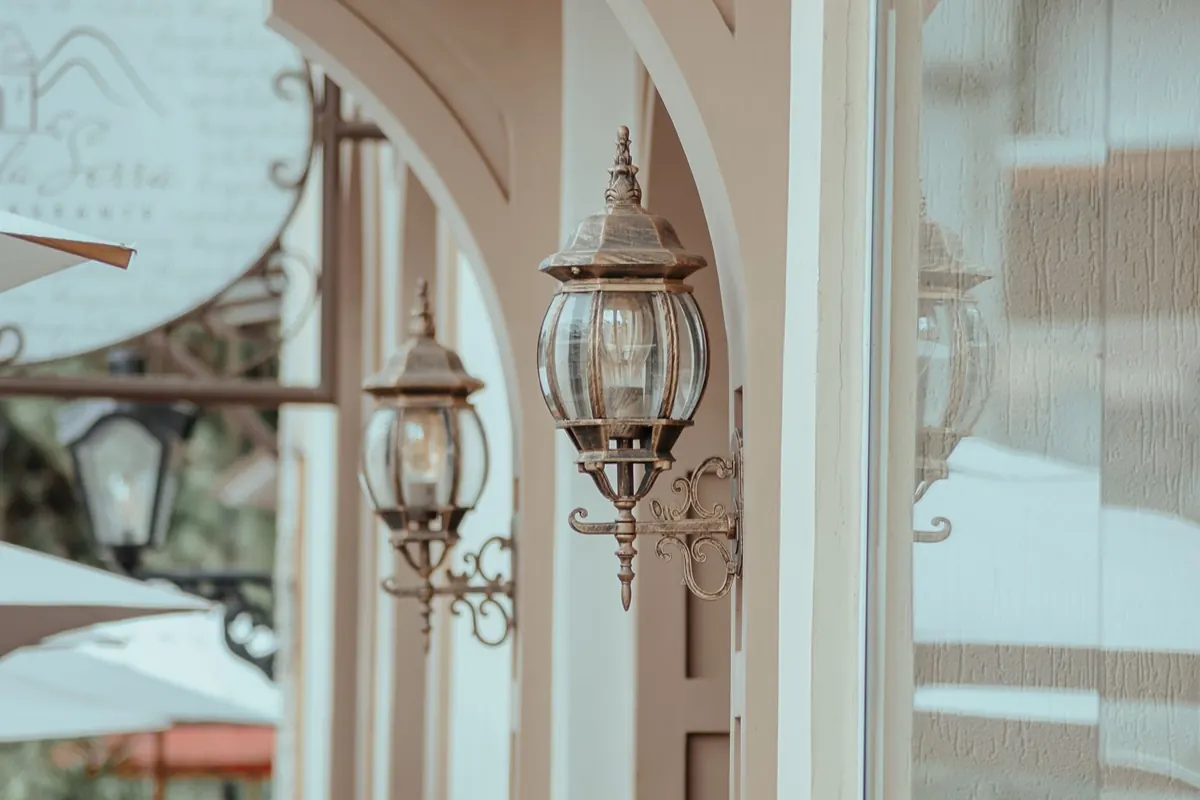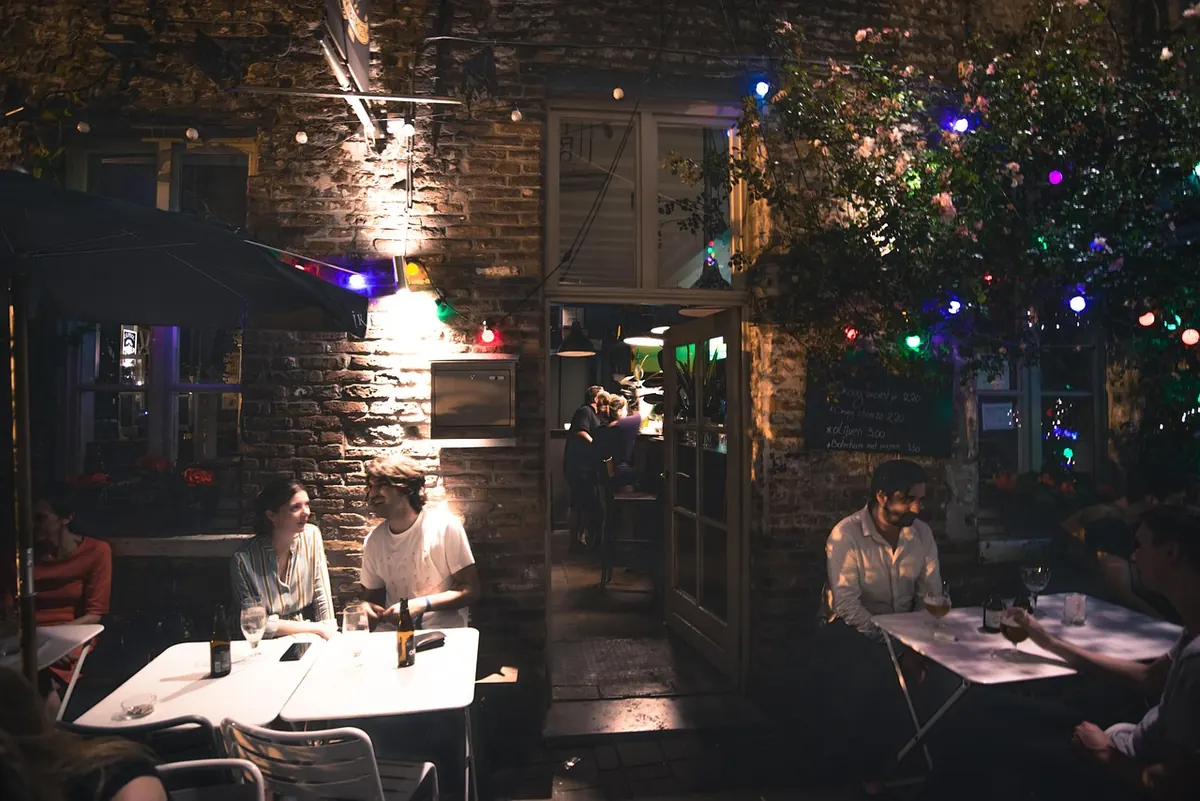
Patio lighting starts small. A string of bulbs over a table, a lantern beside the door, one spotlight aimed at a tree. Then a season passes and suddenly there are three strands, a couple of path lights, an extension cord running along the fence, and a power strip sitting in a planter. It happens to almost everyone, and it's fine. It's also the point where a few sensible checks separate a space that feels warm and effortless from one that trips a breaker every time the sprinklers run.
Nothing here requires an electrician's vocabulary. It requires a handful of habits: knowing what's plugged into what, keeping water out of places it doesn't belong, and noticing heat before it becomes a problem. What follows is the walkthrough worth doing before the season starts and again in the middle of summer, when everything has been sitting outside for months.
Begin at the Outlet, Not the Decorations
Most patio lighting problems trace back to the power source, not the pretty part. Before you hang anything, look at the outlet you plan to use. On an exterior wall it should be a weather-resistant receptacle with a proper cover — the kind that closes over the plug while it's in use, not just a flip lid that hangs open. If the cover is cracked, missing a gasket, or won't shut with a cord plugged in, replace the cover before the season starts. It's a small part and an easy swap.
Outdoor receptacles should be protected by a ground-fault circuit interrupter, which shuts power off when current starts leaking somewhere it shouldn't — through water, damp soil, or a damaged cord. Many newer homes have this built in; older ones sometimes don't. If you're unsure, have someone qualified look at it. That's one area where guessing isn't worth it.
Then think about load. A single circuit usually serves more than one outlet, and it may already be carrying a shed light, a fountain pump, or a garage freezer. If a breaker trips when the patio lights come on, don't solve it by upgrading the breaker. Split the load instead, or add a circuit properly.
Cords: Route Them Like You Mean It
The cord is where most outdoor lighting setups quietly fail. Water pools at the lowest point, and the lowest point is almost always where the connection sits.
Keep every connection off the ground
Where two cords meet, water will find the seam. Lift the join, loop it so it hangs below the connection point — a small drip loop — and secure it to a post or hook so it stays there. Purpose-made connection covers help too, but they work far better on a raised, looping cord than on one lying flat in wet grass.
Use outdoor-rated cord, and treat extension cords as temporary
Indoor extension cords have thinner insulation and no real weather resistance. They crack in the sun and soak up moisture. Outdoor-rated cords cost a little more and last far longer. Even so, an extension cord draped across a patio is a trip hazard and a long-term weak point; where the layout is permanent, run cable properly along a fence or under the edge of a path instead.
Keep cords away from what cuts and what burns
Check that no cord is pinched under a chair leg, wedged in a door, or resting on hot pavers in full sun. Keep them clear of the grill, the fire pit, and anywhere a mower or string trimmer goes. If a cord runs across a walkway, tape it down or reroute it — guests arriving after dark won't see it.
Heat: The Check People Skip
Bulbs get hot, and outdoor fixtures often sit closer to combustible material than indoor ones do. Dried leaves, paper lanterns, fabric bunting, canvas shade sails, and wooden pergola beams are all things a bulb should never touch.
- Match the bulb to the fixture. Every fixture has a maximum wattage. Exceeding it is the classic way to melt a socket, scorch a shade, or crack a glass globe.
- Respect enclosed fixtures. A bulb inside a sealed globe or a tight housing can't shed heat. Use a lower-wattage bulb or an LED rated for enclosed use.
- Give string lights breathing room. Don't bundle a coil of lit strand into a planter or stuff the slack behind a cushion. Spread it out.
- Do the touch test. After an hour or two, carefully feel the shade and the socket area. Warm is normal. Too hot to hold comfortably is a sign to change the bulb or the fixture.
- Clear the debris. Dry leaves collect on top of fixtures, inside lanterns, and along the housing. A quick brush-out during the season costs nothing.
LEDs run cooler and are the sensible default now, but they're not immune. Cheap drivers in poorly sealed housings can still overheat and fail, and a lamp rated for indoor use won't appreciate a wet patio. Look for fixtures and bulbs intended for exterior use.
Weather Exposure, Season by Season
Water gets the attention, but sun, wind, and frost do their own damage. Ultraviolet light makes plastic insulation brittle; after two or three summers, a cord that felt supple in spring will crack when you bend it. Coil cords loosely rather than wrapping them tight, and store them indoors or in a sealed box over winter.
Wind is the other slow saboteur. String lights hung with thin hooks or wire will swing, chafe against a beam, and wear through insulation at the same spot year after year. Hooks with a bit of give, plus a little slack in the run, take the strain off the wire itself. Anything hung high over a seating area deserves a second look after a storm.
In wet climates, check that water can drain away from fixtures rather than sitting against them, and that path lights aren't standing in a puddle. After heavy rain, look at the ground where the cable runs: if the soil stays waterlogged, that's where a connection will eventually fail.
A Pre-Season Walkthrough
- Turn the circuit off at the breaker before handling any fittings or connections.
- Inspect every cord along its full length. Look for cracked insulation, exposed wire, flattened sections, and scorch marks. Replace rather than tape.
- Check each connection point for corrosion or water inside. Greenish residue means moisture has been getting in.
- Confirm covers close properly and that no outlet sits lower than the surrounding surface where water can pool.
- Replace any bulb that's the wrong wattage for its fixture, then clear debris from every housing and lantern.
- Re-route cords away from walkways, grills, and anything that moves.
- Test the GFCI using its test button, then restore power and confirm everything lights.
- Set a timer so the lights aren't running all night, every night, when nobody's out there.
Signs It's Time to Stop and Replace
Some faults are worth fixing. Others mean the item is finished. Retire any cord that's stiff, cracked, or has been taped more than once. Retire a fixture with a corroded socket, a cracked globe, or a housing that takes on water. If a breaker trips repeatedly, or if you feel a tingle when touching a metal part, stop using that circuit and have it checked properly — those aren't quirks to be worked around.
Make It a Two-Minute Habit
The full walkthrough is a start-of-season job, but the small checks are what keep things safe in between. Once a week, walk the patio after dark with the lights on. Look for a bulb that's dimmed or flickering, a cord that's slipped into a puddle, a lantern leaning against the curtains of a pergola. It takes less time than watering the pots.
Patio lighting works best when you forget it's there — when the glow just happens, night after night, without a thought. That quiet reliability is what all of this buys you: cords that stay where you put them, fixtures that don't cook themselves, and connections that survive the first real downpour of the season. Check it once properly, then keep half an eye on it. The rest is enjoyment.
Photo: ClickerHappy / Pixabay