A tower light is one of the few things you buy for a property that you will look at every day for twenty years. It also has to work on a wet Tuesday in February, when the path is black and the wind is throwing rain sideways. That is why choosing on looks alone so often disappoints. The column arrives, stands three metres tall, and suddenly the proportions feel wrong; the pool of light lands past the gate instead of on the steps; the finish turns chalky after a couple of winters. Almost everything that goes right or wrong comes down to three specifications: height, beam spread and finish. Sort those out and the rest is detail.
Height decides more than you expect
Mounting height does two jobs at once. It sets how much ground the lantern covers, and it decides whether anyone ever gets the bulb in their eyes. A light source sitting at roughly eye level — say 1.6 to 1.7 metres — will glare at whoever walks up the driveway, no matter how handsome the fitting is. As a working rule, keep the light-emitting part of a decorative tower above two metres for garden paths, and between 2.5 and three metres for driveways, gates and courtyard entrances.
Measure from finished grade
This sounds obvious and is constantly got wrong. Measure from the level the ground will be after paving, gravel or turf goes down, not from the mud you are standing on today. A 30 cm layer of gravel and hardcore quietly eats a third of a metre of your intended height. If you are setting columns into a low wall or a pier, measure from the top of the pier, then stand back and check the sightline from the rooms that look onto it — the kitchen window, the upstairs landing, the sofa.
Proportion and spacing
Head-to-column balance matters as much as the number on the spec sheet. A lantern head under about 30 cm tends to look undersized on a three-metre column, like a hatpin; a very wide head on a slim shaft reads top-heavy from the side. Look at the profile drawing, not just the front elevation, and check the head against the shaft diameter.
For spacing, a useful starting point for path lighting is to place towers roughly 1.5 to 2 times their mounting height apart. Lower fittings want to be closer together; taller ones can be further apart. If you want the pools of light to overlap into a continuous ribbon along a walkway, tighten that spacing. If you want distinct islands of light around planting or a bench, spread them out and let the dark do some of the work.
Two more checks before you dig. First, clearances: mature shrubs, tree canopies and gates all move the effective height once they grow. Second, mark it out in the real world. A bamboo cane at the proposed height with a torch taped to the top will tell you more in five minutes than an hour with a catalogue.
Beam spread: getting light where you want it
Beam spread is usually quoted in degrees, and it describes how wide the cone of light is when it leaves the fitting. Narrow beams punch further and create drama; wide beams wash an area evenly and feel calmer. For decorative towers, most buyers land in these three bands:
- 15 to 30 degrees (narrow): accent work — grazing a wall, lifting a specimen tree, picking out a gate pier. Use sparingly and aim carefully, because a narrow beam shows every mistake.
- 40 to 60 degrees (medium): the everyday choice for driveways, entrance paths and steps. Enough reach to cover a surface, enough softness to avoid a hard-edged circle.
- 80 degrees and wider (wide): patios, terraces and broad washes where you want a low, even glow rather than a pool. Great at low mounting heights.
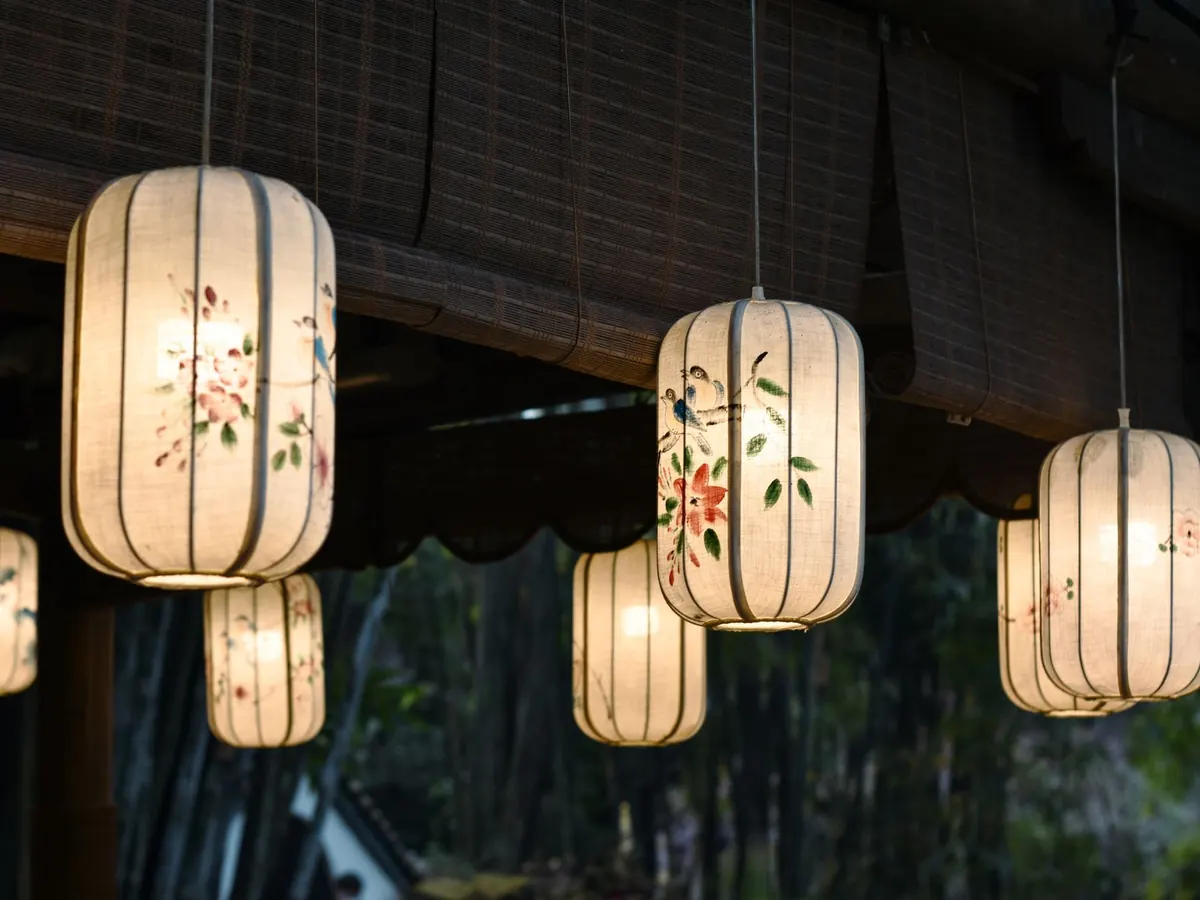
Remember that a lantern is not a spotlight. The glass, the cage and the cap all shape the output. Clear glass shows the lamp itself, which gives a lively sparkle but also more glare and a small hot spot on the ground. Frosted or opal glass spreads the same light into a soft, even circle and looks better at close range. Louvre rings and hoods push light downward, which is exactly what you want where a fixture might otherwise shine into a neighbour's bedroom or across a boundary.
Output and colour, briefly
Decorative fittings do not need to be bright. Two moderate lamps at 300 lumens each, placed well, usually read better than one fierce one that flattens everything nearby. For colour, warm white in the region of 2200 to 2700 K flatters stone, brick, timber and foliage; anything much cooler starts to look clinical and slightly blue against planting. Keep the light low and aimed at the ground where you can. Dark sky thinking is not a niche concern any more, and it makes a garden more pleasant to sit in, not less.
Finish: the part everyone notices last and lives with longest
Finish is a structural decision disguised as a cosmetic one. The coating is what stands between your column and a decade of rain, salt and ultraviolet light, so buy the material first and the colour second.
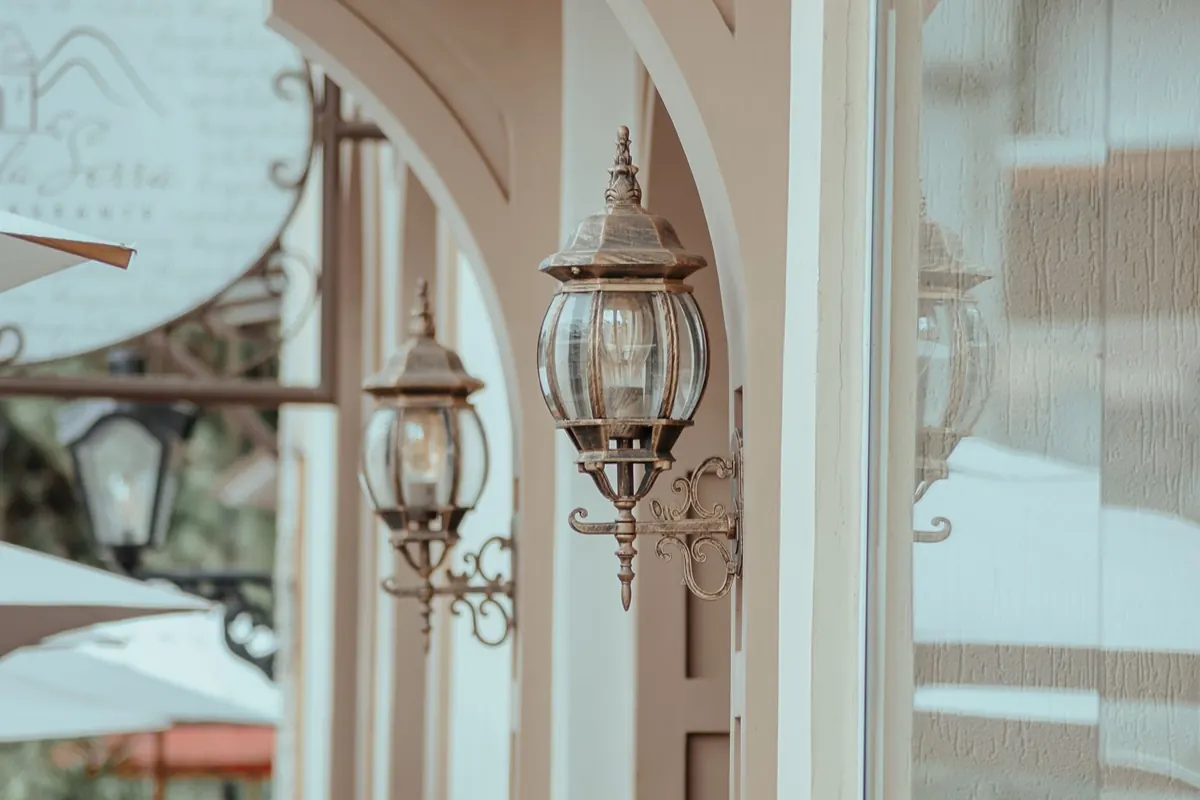
Powder-coated cast aluminium is the practical default: it holds crisp detail, resists corrosion well when the metal is properly pre-treated, and comes in a wide range of colours. Brass and copper cost more and last longer, developing a patina that many people buy them for — decide in advance whether you want the living finish or the polished look, because you cannot have both indefinitely. For coastal sites, specify marine-grade stainless steel components and fixings, and avoid mixing metals carelessly; stainless screws threaded into aluminium can seize, and dissimilar metals in damp air corrode faster than either would alone. A little nylon isolation or a dab of suitable grease at assembly saves a great deal of swearing later.
Colour, sheen and upkeep
Dark bronze, deep green and black recede into planting and let the light do the talking. Pale stone, cream and off-white read larger and suit rendered walls and lighter facades. Matte finishes hide water marks and dust; gloss shows every fingerprint and every scratch. Whichever you choose, plan on rinsing the fittings a few times a year, keeping the drain holes clear so water cannot sit inside, and touching up any chip in the coating while it is still the size of a fingernail rather than the size of a coin. Check the IP rating too — IP44 handles splashes, IP65 handles direct jets — and confirm the driver or junction point is somewhere you can actually reach.
Putting the three together
Take a real example. A gravel drive of about 18 metres, two brick piers at the entrance, mature oaks either side. Two three-metre columns on the piers, medium 50-degree spread through frosted glass, warm 2700 K lamps, brass with a living finish that will darken to match the brick. The oaks get nothing at all — they are lit by the spill, which is enough. On the path to the door, three shorter towers at 1.8 metres with opaque glass and wide output, spaced about three metres apart, so the route reads as a soft ribbon rather than a runway. Nothing is bright, everything is aimed low, and the tallest elements are the ones furthest from the eye.
Before you order: a short checklist
- Measure the finished ground level at every proposed position, then add the wall or pier height if there is one.
- Mark each height with a cane and a temporary light, and look at it after dark from the rooms that matter.
- Decide the job of each tower — accent, path, or general wash — and pick the narrowest beam that does it.
- Match the finish to the climate first, the colour second, and buy marine-grade fixings for coastal sites.
- Confirm the IP rating, the lamp type and where the driver or junction box will live before the columns go in the ground.
- Keep a note of the exact finish and lamp specification, so a matching unit in five years is genuinely a match.
Get those six points settled and the buying decision becomes simple: you are no longer choosing a lantern you like, but the one your entrance, your climate and your evening routine actually need.
Photo: 12019 / Pixabay